Adding Entries Directly
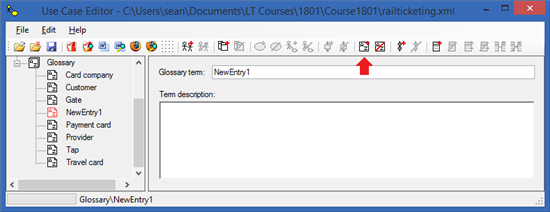
Entries can be made in the glossary directly by selecting Edit | Add Glossary Entry from the main menu, or by clicking the corresponding toolbar button as highlighted by a red arrow in the screenshot below:

Once an entry has been created, the glossary term should be written in the upper text box, and the detailed description of what it means in jargon that everyone involved in the project can understand should be given in the lower box. Note that the glossary term is not treated as case sensitive when it is searched for in the rest of the model, so case sensitivity here is not an issue.
Every term that has been added to the glossary will now be automatically found and hyperlinked in the various text boxes throughout the rest of the model. By clicking on any of those links, it will bring you back to the glossary entry for that term.
Adding Entries Indirectly
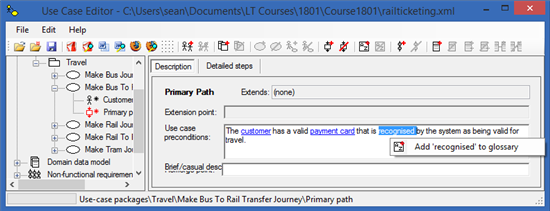
In any of the text editing fields throughout the various editing panels of the model, you can select a range of characters that comprise a technical term, then right-click the mouse to bring up a context menu. One of these menu items will allow you to add the selected text to the glossary. If you select this menu item, the term is added to the glossary, and you are navigated to the glossary entry to define the term. And example of a term about to be defined from a use case description is shown below:
